Mise en forme de table Matplotlib
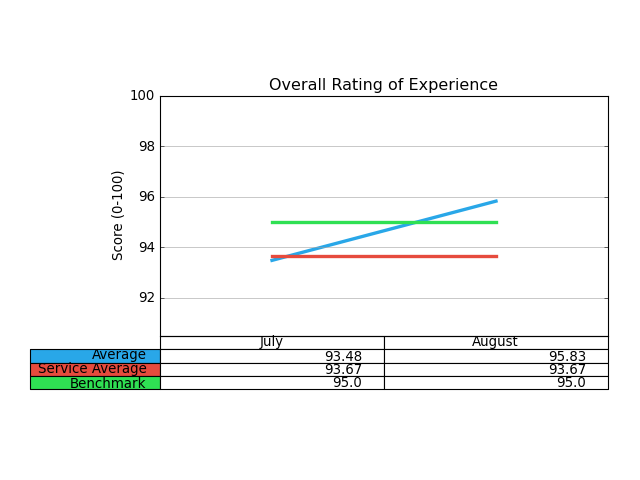 Impossible de trouver dans la documentation comment augmenter la hauteur de ligne des cellules, car le texte lui-même est très étroit.
Toute aide avec le code est appréciée! Le formatage de Table ne semble pas être bien documenté...
    # Plot line width
    matplotlib.rc('lines', linewidth=3)

    ind = np.arange(len(overall))

    fig = pyplot.figure()
    ax = fig.add_subplot(211)
    ax.set_title('Overall Rating of Experience')
    ax.set_ylabel('Score (0-100)')

    # Plot data on chart
    plot1 = ax.plot(ind, overall)
    plot2 = ax.plot(ind, svc_avg)
    plot3 = ax.plot(ind, benchmark)

    ax.yaxis.grid(True, which='major', ls='-', color='#9F9F9F')
    ax.set_ylim([min(overall + svc_avg + benchmark) - 3, 100])
    ax.set_xlim([-.5,1.5])
    ax.get_xaxis().set_ticks([])
    ax.set_position([.25, .3, 0.7, 0.5])

    colLabels = ['July', 'August']
    rowLabels = ['Average', 'Service Average', 'Benchmark']
    cellText = [overall, svc_avg, benchmark]
    the_table = ax.table(cellText=cellText, rowLoc='right',
                         rowColours=colors, rowLabels=rowLabels,
                         colWidths=[.5,.5], colLabels=colLabels,
                         colLoc='center', loc='bottom')
EDIT: merci à Oz pour la réponse-boucler les propriétés de la table permet de modifier facilement la propriété height:
    table_props = the_table.properties()
    table_cells = table_props['child_artists']
    for cell in table_cells: cell.set_height(0.1)
2 réponses
La documentation matplotlib indique
Ajoute une table aux axes actuels. Retourne un matplotlib.table.Tableau instance. Pour un contrôle plus fin des tables, utilisez la classe Table et ajoutez-la aux axes avec add_table ().
Vous pouvez faire ce qui suit, regardez les propriétés de votre table (c'est et objet appartenant à cette Table de classe):
print the_table.properties() # hint it's a dictionary do: type(the_table.properties() <type 'dict'>
Modifiez ce dictionnaire comme vous le voyez à droite, et mettez à jour votre table, avec:
the_table.update(giveHereYourDictionary)
Indice: si vous travailler avec IPython ou shell interactif il suffit de faire help (objectName), par exemple help(the_table) pour voir toutes les méthodes de l'objet. Cela devrait, espérons-le, fonctionner.
OK, j'ajoute ici une promenade à travers Comment à ce genre de choses. J'admets que ce n'est pas trivial, mais j'utilise matplotlib depuis 3,5 ans maintenant, donc ...
Faites votre code dans IPython (Je l'ai déjà dit, Mais je dois le souligner à nouveau), cela aide vraiment à examiner toutes les propriétés des objets (tapez le nom de l'objet puis le la clé):
In [95]: prop=the_table.properties()
In [96]: prop #This is a dictionary, it's not so trivial, but never the less one can understand how dictionaries work...
Out[96]:
{'agg_filter': None,
 'alpha': None,
 'animated': False,
 'axes': <matplotlib.axes.AxesSubplot at 0x9eba34c>,
 'celld': {(0, -1): <matplotlib.table.Cell at 0xa0cf5ec>,
  (0, 0): <matplotlib.table.Cell at 0xa0c2d0c>,
  (0, 1): <matplotlib.table.Cell at 0xa0c2dec>,
  (0, 2): <matplotlib.table.Cell at 0xa0c2ecc>,
  (1, -1): <matplotlib.table.Cell at 0xa0cf72c>,
  (1, 0): <matplotlib.table.Cell at 0xa0c2fac>,
  (1, 1): <matplotlib.table.Cell at 0xa0cf08c>,
  (1, 2): <matplotlib.table.Cell at 0xa0cf18c>,
  (2, -1): <matplotlib.table.Cell at 0xa0cf84c>,
  (2, 0): <matplotlib.table.Cell at 0xa0cf28c>,
  (2, 1): <matplotlib.table.Cell at 0xa0cf3ac>,
  (2, 2): <matplotlib.table.Cell at 0xa0cf4cc>},
 'child_artists': [<matplotlib.table.Cell at 0xa0c2dec>,
  <matplotlib.table.Cell at 0xa0cf18c>,
  <matplotlib.table.Cell at 0xa0c2d0c>,
  <matplotlib.table.Cell at 0xa0cf84c>,
  <matplotlib.table.Cell at 0xa0cf3ac>,
  <matplotlib.table.Cell at 0xa0cf08c>,
  <matplotlib.table.Cell at 0xa0cf28c>,
  <matplotlib.table.Cell at 0xa0cf4cc>,
  <matplotlib.table.Cell at 0xa0cf5ec>,
  <matplotlib.table.Cell at 0xa0c2fac>,
  <matplotlib.table.Cell at 0xa0cf72c>,
  <matplotlib.table.Cell at 0xa0c2ecc>],
 'children': [<matplotlib.table.Cell at 0xa0c2dec>,
  <matplotlib.table.Cell at 0xa0cf18c>,
  ...snip snap ...
  <matplotlib.table.Cell at 0xa0cf72c>,
  <matplotlib.table.Cell at 0xa0c2ecc>],
 'clip_box': TransformedBbox(Bbox(array([[ 0.,  0.],
       [ 1.,  1.]])), CompositeAffine2D(BboxTransformTo(Bbox(array([[ 0.,  0.],
       [ 1.,  1.]]))), BboxTransformTo(TransformedBbox(Bbox(array([[ 0.25,  0.3 ],
       [ 0.95,  0.8 ]])), BboxTransformTo(TransformedBbox(Bbox(array([[ 0.,  0.],
       [ 8.,  6.]])), Affine2D(array([[ 80.,   0.,   0.],
       [  0.,  80.,   0.],
       [  0.,   0.,   1.]])))))))),
 'clip_on': True,
 'clip_path': None,
 'contains': None,
 'figure': <matplotlib.figure.Figure at 0x9eaf56c>,
 'gid': None,
 'label': '',
 'picker': None,
 'rasterized': None,
 'snap': None,
 'transform': BboxTransformTo(TransformedBbox(Bbox(array([[ 0.25,  0.3 ],
       [ 0.95,  0.8 ]])), BboxTransformTo(TransformedBbox(Bbox(array([[ 0.,  0.],
       [ 8.,  6.]])), Affine2D(array([[ 80.,   0.,   0.],
       [  0.,  80.,   0.],
       [  0.,   0.,   1.]])))))),
 'transformed_clip_path_and_affine': (None, None),
 'url': None,
 'visible': True,
 'zorder': 0}

# we now get all the cells ...
 [97]: cells = prop['child_artists']

In [98]: cells
Out[98]:
[<matplotlib.table.Cell at 0xa0c2dec>,
 <matplotlib.table.Cell at 0xa0cf18c>,
... snip snap...
 <matplotlib.table.Cell at 0xa0cf72c>,
 <matplotlib.table.Cell at 0xa0c2ecc>]

In [99]:cell=cells[0]
In [100]: cell # press tab here to see cell's attributes

Display all 122 possibilities? (y or n)
cell.PAD
cell.add_callback
...snip snap ...
cell.draw
cell.eventson
cell.figure
...snip snap ...
In [100]: cell.set_h
cell.set_hatch   cell.set_height

# this looks promising no? Hell, I love python ;-)
wait, let's examine something first ...
In [100]: cell.get_height()
Out[100]: 0.055555555555555552
In [101]: cell.set_height(0.1) # we just 'doubled' the height...
In [103]: pyplot.show()
ET TA DA:
Maintenant, je vous invite à changer la hauteur de toutes les cellules, en utilisant une boucle for. Ne devrait pas être si dur. Ce serait bien de gagner cette prime ; -)
Vous pouvez également jouer avec la propriété bbox (bounding box) directement à l'appel de la fonction, ajoutez donc simplement l'argument bbox dans la méthode .table comme suit:
the_table = ax.table(cellText=cellText, rowLoc='right',
                     rowColours=colors, rowLabels=rowLabels,
                     colWidths=[.5,.5], colLabels=colLabels,
                     colLoc='center', loc='bottom',
                     bbox=[0, -0.3, 1, 0.275]) # <-- here is the magic
Où bbox est : [left, bottom, width, height]
Ainsi, vous pouvez mettre la table un peu plus bas (-0.3), et définir la hauteur à 0.275 (
Quoi Qu'il en soit, l'idée est que vous pouvez jouer avec bbox paramètre pour déplacer et ajuster votre table assez facilement (au moins plus facilement que la réponse acceptée)
Si votre table disparaît lors de l'enregistrement de la figure, vous pouvez réajuster la figure entière avec:
plt.tight_layout(rect=[0.11, 0.3, 0.95, .95])
Qui obéissent aux mêmes règles qu'une bbox (l, b, w, h). Ceci (0.3) laissera un peu d'espace pour la table sous la hache, et le 0.11 permettra au rowLabel de tenir dans la figure. Vous devrez jouer avec les valeurs afin qu'il semble le mieux pour vous.
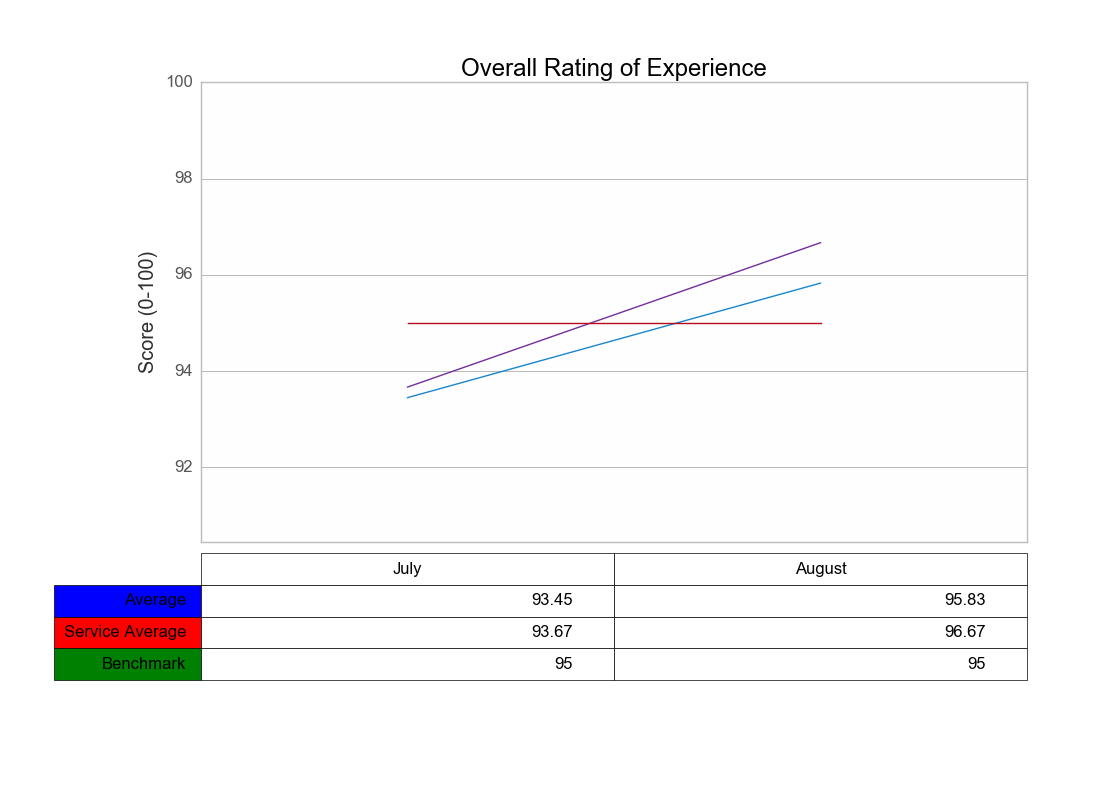
Cela donne (j'utilise fig.add_suplot(111) btw):
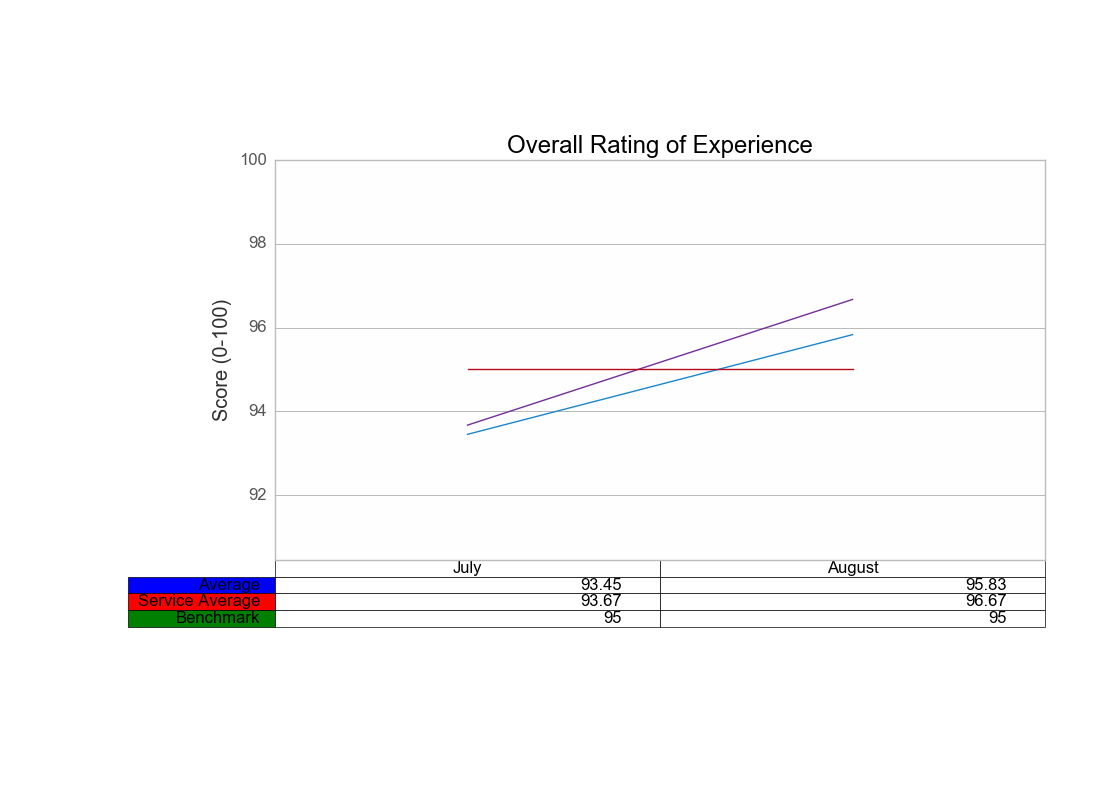
À titre de comparaison, le même chiffre sans changer les propriétés bbox:
J'espère que cela aide.